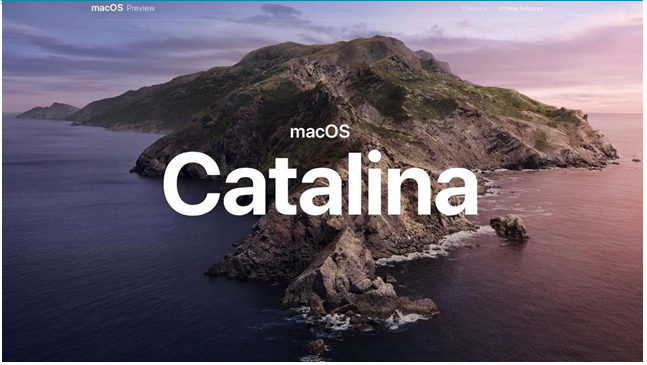
Many people still love their old iMacs. You too know one? Well, I know a few as I happen to be one of them. Still in love with my old 2011 year 27” iMac that till now ran Mac OS High Sierra. And then, one day it stopped upgrading anymore. Reason…? Apple had changed everything to a 64-bit distribution system leading to first of its types Mac OS Mojave. I so badly wanted a solution to upgrade my system to the new OS but it just failed. I almost hated Apple for this as they bullied us to purchase a new computer. I was adamant though to keep trying and upgrade this to the new Mac OS. Several of our customers called us in to find a way to upgrade their MAC computers but we “Computer Repair Onsite” did not have a solution for them. Time passed and soon there was this new Mac OS by Apple called Catalina. It looked really cool and my eagerness to get upgraded on it increased even more. Finally I got to know about a patching tool, called DosDude.
DosDude Catalina Patcher is a third-party tool that helps the users to patch the Mac OS Catalina installer on otherwise unsupported Macs. Of course, just because you can do this, doesn’t mean you should, as there’s a good chance that performance will be sub-optimal, while Catalina features may depend on modern Mac hardware (Sidecar, for example) and likely won’t work at all. You can find a compatible list of unsupported Macs for Catalina Patcher on the DosDude website.

Despite these risks, I was happy that at last my old Mac will have the feel of the new OS. So, I tried that and tried successfully. For all the readers as well, if you wish to try this work-around, then do that at your own risk or employ someone technical enough, like Computer Repair Onsite, who can manage a successful transformation of your Mac computer to the new life. For everyone’s knowledge, I am sharing quick steps that will help you to install Mac OS Catalina on your Macs. Here you go:
- Make sure your computer is bnacked on a Time Machine.
- Download the latest version of the Catalina Patcher by DOSDude1.
- Open the application and select Download a Copy or browse a copy from local disk.
- Connect a USB flash drive (formatted as MacOS Extended Journaled) into your Mac and select Create a bootable installer from the three Installation Method options.

5. Select your flash drive volume from the list and click Start.
6. When the installer is complete, use the pendrive for your unsupported Mac and hold down the Option key when the reboot tone sounds.
7. Select your USB drive installer from the boot list.
8. If your Mac is currently running a version of macOS that predates High Sierra or Mojave, you’ll need to format your hard drive to APFS before installing Catalina.

9. Choose Reinstall macOS and wait for the new version of macOS to install.
10. After the installation has completed, you should restart the Mac in Recovery mode again, choosing the drive that contains the bootable installer.
11. Now choose macOS Post Install and the required patches will be installed on your Mac so that Catalina can work.
12. When the patches have been applied choose Force Cache Rebuild.
13. Restart.
14. When it reboots, your Mac should now boot into a fully working copy of macOS Catalina.
15. Back up your Mac before starting the whole process.


